






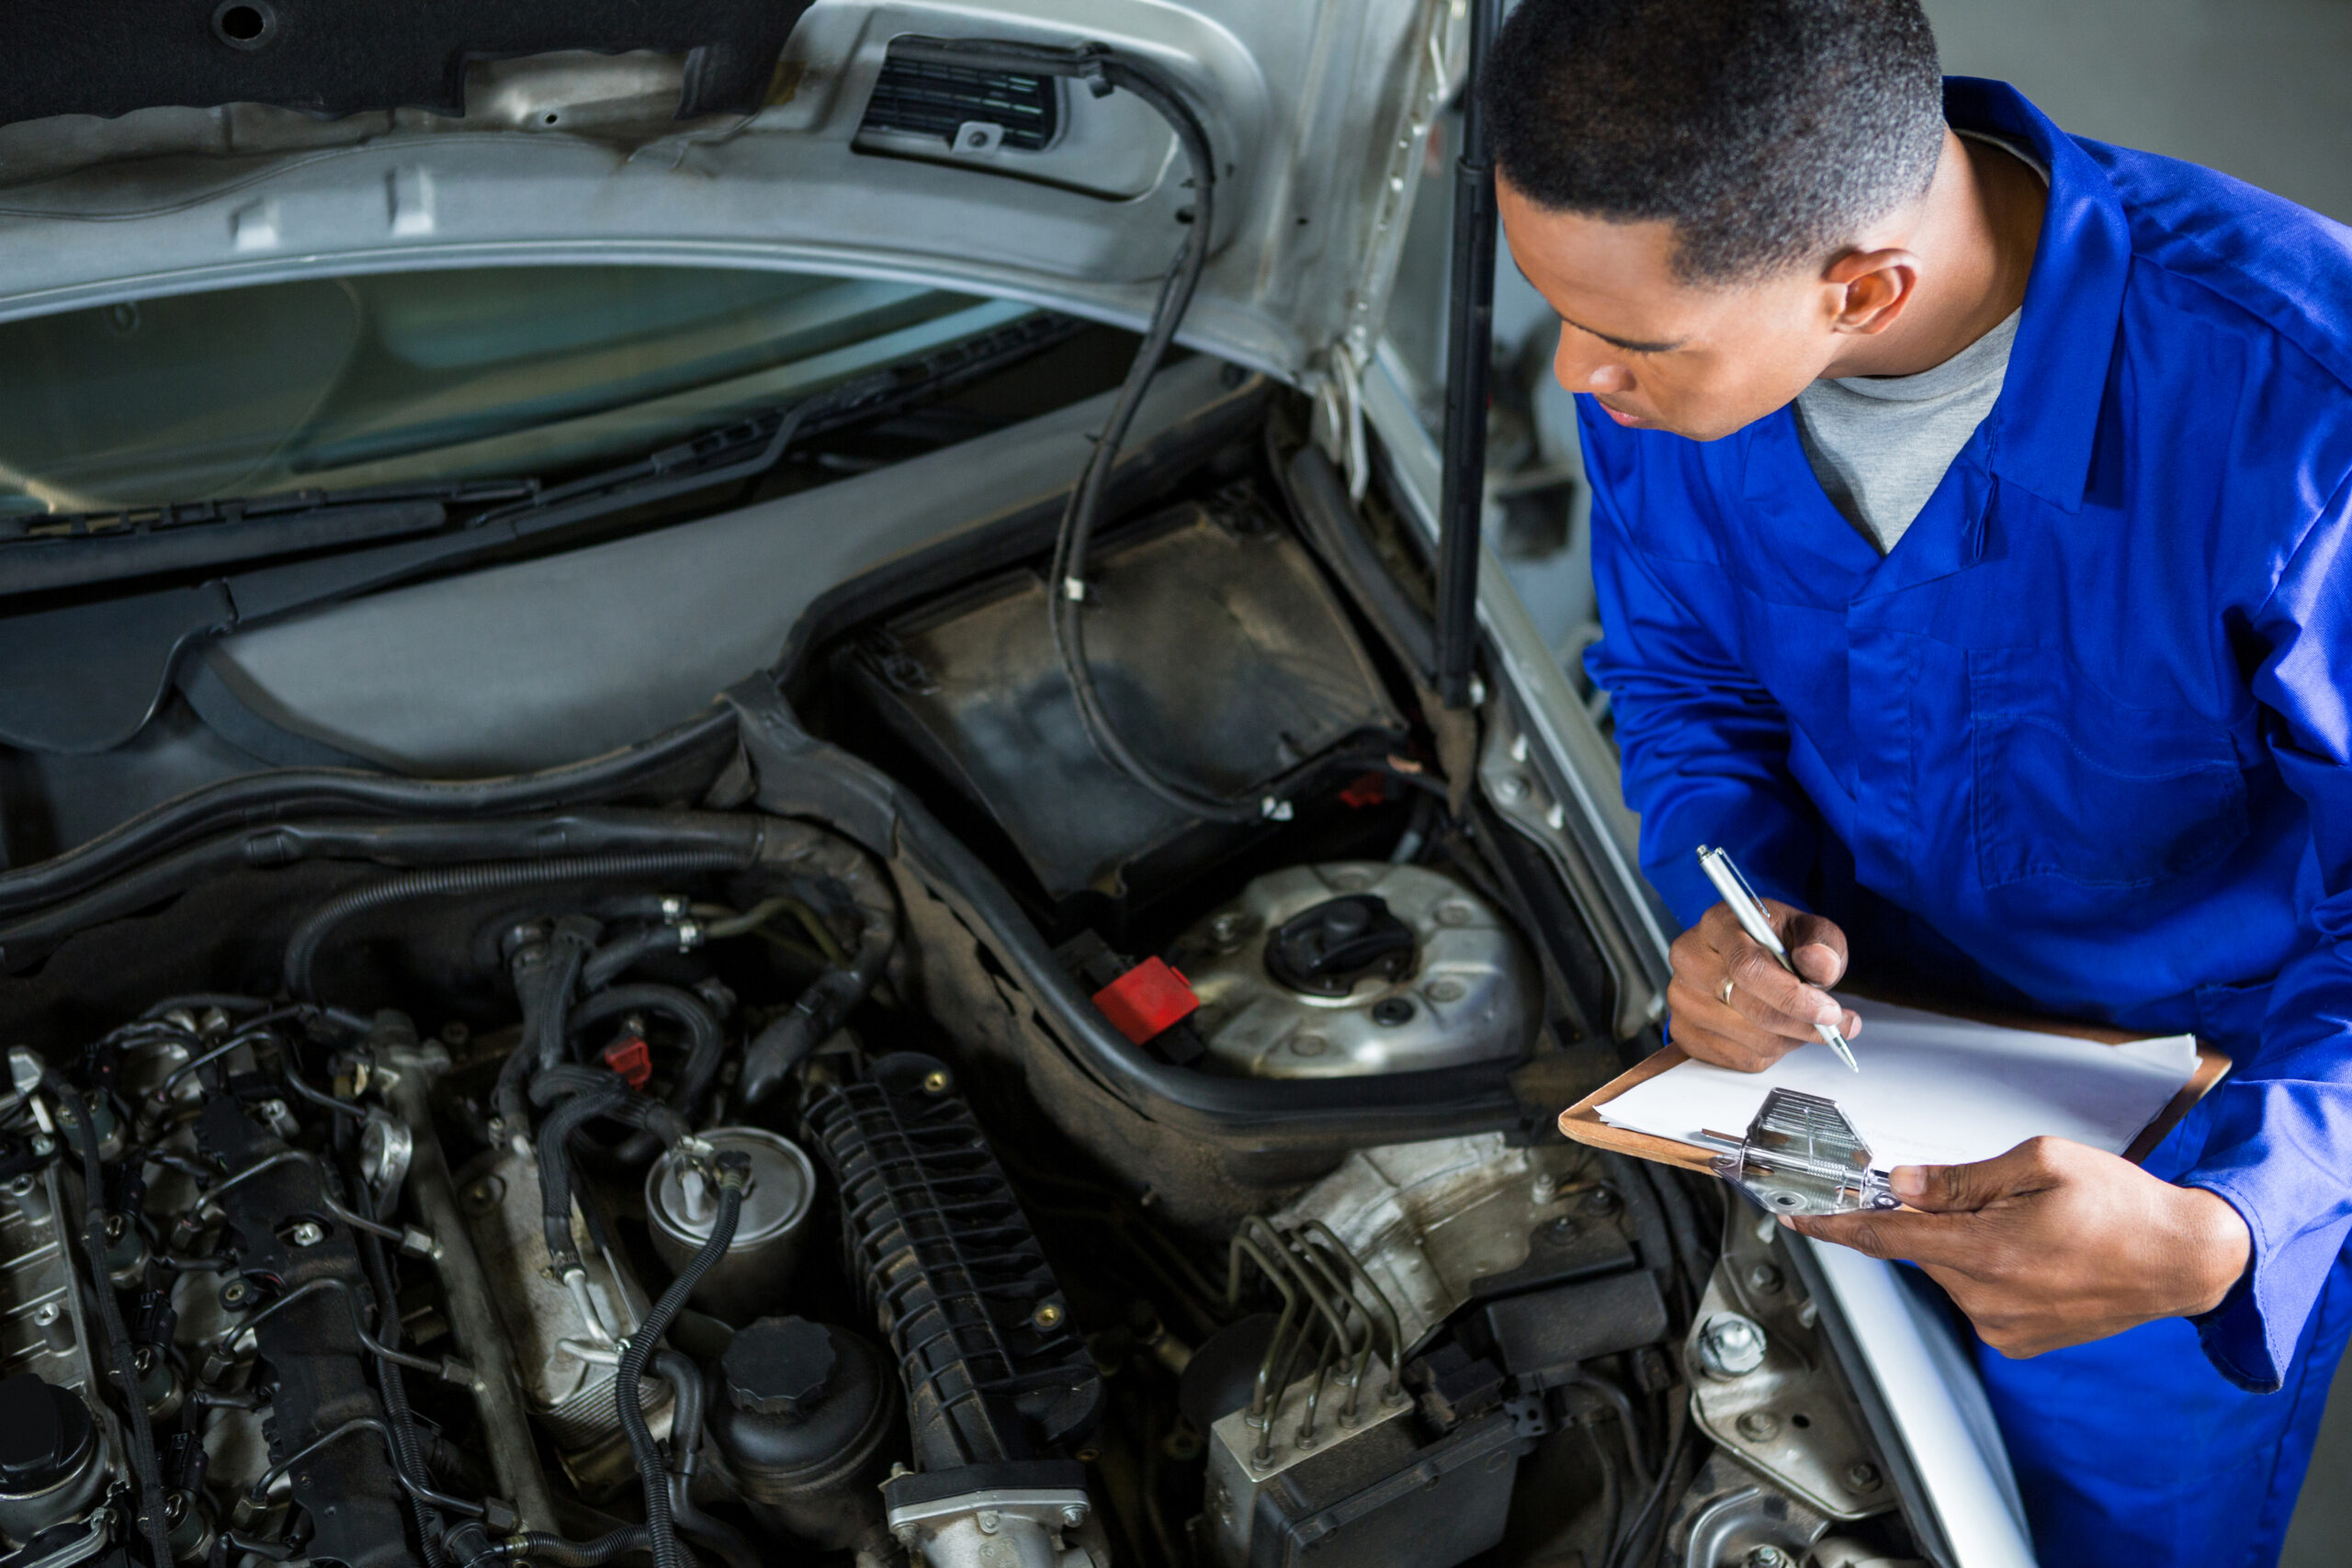
A clear inspection checklist is essential. It helps you spot issues early, keep cars safe, and earn your customers’ trust. Whether you’re checking a used car before a sale or doing regular maintenance, a consistent process is key.
Why is the checklist important?
- Catch problems before they get expensive.
- Keep your inspection process fast and consistent.
- Build trust with clear records and honest feedback.
100 Things to Inspect During A Vehicle Inspection
Use this automotive inspection checklist as a guide during every inspection. It covers everything from paperwork to test drives. It’s designed to save time, avoid missed details, and boost your shop’s reputation for quality service. Here are 100 key areas every shop should inspect during a vehicle inspection:
100-Point Vehicle Inspection Checklist
1. Vehicle Intake
🟠 Routine Check: Record the VIN and license plate to confirm vehicle identity and match existing service records.
🟠 Routine Check: Record the vehicle’s odometer reading at check-in and before delivery.
🟠 Routine Check: Document the customer’s concerns, requested services, and any symptoms reported.
🟠 Routine Check: Record the fuel level at vehicle drop-off for delivery verification.
🔴 Critical Safety Check: Check the VIN for any open manufacturer safety recalls before beginning service.
🟠 Routine Check: Verify customer contact information to ensure inspection findings can be communicated promptly.
2. Exterior Condition
🟠 Routine Check: Inspect the body for dents, scratches, paint transfer, and collision damage.
🟠 Routine Check: Examine front and rear bumpers for cracks, loose mounting points, or impact damage.
🟠 Routine Check: Confirm the license plate is secure, readable, and properly mounted.
🟢 Preventive: Look for rust, paint deterioration, corrosion, and damaged trim components.
🟠 Routine Check: Check fenders, rocker panels, and body panel alignment for signs of previous repairs.
🔴 Critical Safety: Inspect the windshield, side glass, rear glass, and mirrors for cracks, chips, or excessive pitting.
🟠 Routine Check: Verify door handles, hinges, latches, and weather stripping operate correctly.
🔴 Critical Safety: Test child safety locks for proper engagement and release.
🟠 Routine Check: Inspect the trailer hitch and receiver for corrosion, cracks, and secure mounting if equipped.
3. Lights & Electrical
🔴 Critical Safety: Test low- and high-beam headlights for proper operation and alignment.
🔴 Critical Safety: Verify brake lights and taillights illuminate correctly.
🔴 Critical Safety: Test front and rear turn signals for proper operation.
🔴 Critical Safety: Activate hazard flashers and verify all lamps function.
🟠 Routine Check: Inspect license plate lights and dashboard illumination.
🔴 Critical Safety: Check reverse lights, fog lights, and daytime running lights where equipped.
🟠 Routine Check: Test dome lights, courtesy lights, and map lights.
🔴 Critical Safety: Scan the instrument cluster for active warning indicators.
🟢 Preventive: Perform a battery voltage and load test while inspecting battery terminals.
🟢 Preventive: Measure alternator charging output and starter current draw.
🔴 Critical Safety: Verify ignition switch operation and smooth accelerator pedal response.
🔴 Critical Safety: Test horn operation to confirm it provides an audible warning.
4. Tires & Wheels
🔴 Critical Safety: Check tire pressure on all four tires and the spare.
🔴 Critical Safety: Measure tread depth across all tires for even wear.
🟢 Preventive: Inspect tires for uneven wear patterns that may indicate alignment or suspension problems.
🔴 Critical Safety: Examine tire sidewalls for cuts, bulges, cracks, or embedded objects.
🟠 Routine Check: Inspect valve stems and valve caps for leaks or damage.
🟢 Preventive: Review DOT tire date codes to identify aging tires.
🔴 Critical Safety: Verify wheel condition, lug nut torque, and hub cap security.
🟢 Preventive: Inspect the spare tire, jack, lug wrench, and wheel lock key if equipped.
🔴 Critical Safety: Confirm the TPMS functions correctly without active faults.
5. Brake System
🔴 Critical Safety: Measure brake pad thickness and inspect wear patterns.
🔴 Critical Safety: Inspect brake rotors for scoring, heat spots, cracking, or excessive wear.
🔴 Critical Safety: Examine brake drums and shoes where applicable.
🔴 Critical Safety: Inspect brake calipers for sticking pistons, leaks, or damaged dust boots.
🔴 Critical Safety: Verify brake fluid level and inspect fluid condition.
🔴 Critical Safety: Examine brake lines and flexible hoses for leaks, cracks, or corrosion.
🔴 Critical Safety: Test parking brake operation and holding ability.
🔴 Critical Safety: Evaluate brake pedal travel, firmness, and pulsation.
🔴 Critical Safety: Check ABS sensors, wiring, and warning light operation.
6. Steering & Suspension
🔴 Critical Safety: Check steering wheel free play and steering response.
🔴 Critical Safety: Inspect the steering column and intermediate shaft for looseness.
🟠 Routine Check: Verify power steering fluid level and condition, where applicable.
🔴 Critical Safety: Inspect tie rods and ball joints for wear or excessive movement.
🔴 Critical Safety: Examine struts for leaks, dents, or structural damage.
🟠 Routine Check: Inspect shock absorbers for leakage and damping performance.
🟢 Preventive: Check CV boots and axle shafts for tears or grease leakage.
🔴 Critical Safety: Inspect wheel bearings for noise and excessive play.
🟢 Preventive: Examine sway bar links, bushings, and control arms for wear.
🟢 Preventive: Check for uneven ride height or sagging springs.
7. Under the Hood
🟢 Preventive: Perform a battery capacity load test.
🟠 Routine Check: Verify engine oil level and inspect oil condition.
🟠 Routine Check: Inspect the oil filter for leaks and proper installation.
🟠 Routine Check: Check transmission fluid level and condition, where serviceable.
🟢 Preventive: Inspect coolant level, condition, and the cooling system for leaks.
🟠 Routine Check: Check brake fluid, power steering fluid, and washer fluid reservoirs.
🟢 Preventive: Inspect battery cables, terminals, and hold-down hardware.
🟢 Preventive: Examine serpentine and accessory drive belts for cracks or glazing.
🟢 Preventive: Inspect coolant, vacuum, and heater hoses for swelling or leaks.
🟠 Routine Check: Inspect the engine air filter and cabin air filter.
🟢 Preventive: Check the fuel filter if it is serviceable.
🟢 Preventive: Inspect the PCV valve and evaporative emissions components.
🟠 Routine Check: Examine radiator and condenser fins for debris or damage.
🟢 Preventive: Inspect engine and transmission mounts for deterioration.
🟢 Preventive: Look for oil leaks around valve covers, oil pan, and engine gaskets.
🟢 Preventive: Inspect spark plugs and ignition system components for wear.
🟠 Routine Check: Examine the air intake system for restrictions or damage.
🟠 Routine Check: Inspect fuses for blown or missing components.
8. Under the Car
🔴 Critical Safety: Inspect the exhaust system for leaks, rust, or damaged hangers.
🔴 Critical Safety: Examine the muffler, resonator, and heat shields.
🔴 Critical Safety: Inspect the fuel tank, fuel lines, and fuel system for leaks or corrosion.
🟢 Preventive: Check the transmission and differential housings for leaks.
🟢 Preventive: Inspect the oil pan and drain plug for seepage or damaged threads.
🔴 Critical Safety: Examine the frame, subframe, and underbody for corrosion or impact damage.
🟠 Routine Check: Inspect emissions components, including the catalytic converter and oxygen sensors.
🔴 Critical Safety: Check the driveshaft, U-joints, and center support bearings.
🟠 Routine Check: Verify skid plates and underbody shields are securely mounted.
🟢 Preventive: Look underneath the vehicle for active fluid drips or leaks.
9. Interior & Safety Equipment
🔴 Critical Safety: Test all seat belts for proper retraction, locking, and buckle operation.
🔴 Critical Safety: Confirm the airbag warning light performs a normal self-check.
🔴 Critical Safety: Inspect windshield wipers for streaking, splitting, or poor coverage.
🟠 Routine Check: Test windshield and rear washer spray operation.
🔴 Critical Safety: Check the instrument cluster for active warning lights.
🟠 Routine Check: Verify heating, air conditioning, and all blower speeds operate correctly.
🟠 Routine Check: Test front and rear defrosters.
🟠 Routine Check: Inspect infotainment displays and controls.
🟠 Routine Check: Test power locks, windows, and key fob operation.
🟠 Routine Check: Verify backup cameras, parking sensors, and driver-assistance features.
🟠 Routine Check: Test lane departure warning and collision avoidance systems where equipped.
10. Road Test
🔴 Critical Safety: Confirm smooth engine starting and a stable idle.
🔴 Critical Safety: Evaluate transmission shift quality and clutch engagement where applicable.
🔴 Critical Safety: Test braking performance, stopping distance, and pedal feel under normal driving conditions.
🔴 Critical Safety: Listen and feel for suspension noise, vibration, or harshness while driving.
🟠 Routine Check: Verify cruise control and advanced driver-assistance systems operate as expected.
🔴 Critical Safety: Watch for dashboard warning lights, abnormal exhaust smoke, unusual vibration, or other drivability concerns during the road test.

100-Point Vehicle Inspection Checklist
Download the free 100-point vehicle inspection checklist.
How to use a vehicle checklist in your shop
- Download the full vehicle inspection checklist.
- Tailor it to fit your shop’s workflow.
- Add comments for tech notes and pictures.
- Use color codes or tools to flag vehicle issues.
- Review with the customer, digitally or in person.
Schedule a free demo today!

Boost your shop sales
Simplify shop management
Empower your technicians
EV and Hybrid Vehicle Inspection: What Changes for Your Shop
⚠️ Safety Callout: High-voltage components require EV-rated insulated gloves and tools. Do not touch orange-cabled HV components without proper PPE.
Electric vehicles (EVs) and hybrids require a different inspection approach. High-voltage systems demand specialized safety procedures. There is no engine oil to inspect on a battery-electric vehicle. Cooling systems are often split between the battery and drive components. Regenerative braking changes how traditional brake components wear over time.
As more EVs and hybrids enter independent repair shops, technicians need inspection processes that address these unique systems. Shops that cannot perform a basic EV inspection are turning away a growing share of customer vehicles.
- Locate the high-voltage service disconnect: Before beginning any under-hood work, confirm its location according to the manufacturer’s service information. Ensure the system can be safely isolated if required.
- Inspect the high-voltage battery pack: Look for signs of swelling, physical damage, and coolant leaks around the battery cooling circuit. Active Battery Management System (BMS) fault codes that may indicate internal issues.
- Check the high-voltage battery cooling circuit: Verify coolant level, inspect hoses and fittings for leaks or deterioration. Confirm the battery coolant pump operates correctly, remembering that this circuit is separate from the engine cooling system on most EVs.
- Retrieve battery state of charge (SOC) and state of health (SOH): Use a compatible scan tool, documenting any BMS warnings, cell imbalance flags, or battery degradation that could affect vehicle range and performance.
- Inspect the charge port and charging inlet: Look for damaged housings, bent pins, corrosion, debris, or moisture intrusion. Verify the condition of all available charging interfaces, including Level 1, Level 2, and DC fast charging connectors where equipped.
- Test the 12-volt auxiliary battery: Test for proper voltage, charging performance, and overall condition. EVs and hybrids still rely on a conventional 12V battery to power accessories, computers, relays, and control modules.
- Evaluate regenerative braking performance: During a low-speed road test, confirm smooth brake blending between regenerative and hydraulic braking without hesitation, vibration, or warning messages.
- Inspect brake rotors for corrosion and pitting: Check both front and rear axles. Pay close attention to vehicles with light brake usage, as regenerative braking often reduces rotor cleaning through normal friction.
- Examine electric drive motor mounts and cooling components: Look for loose mounting hardware, coolant leaks, abnormal vibration, or unusual operating noise that could indicate wear or impending component failure.
- Scan for EV-specific warning lights and diagnostic trouble codes: After startup, check for battery thermal management faults, inverter issues, electric motor errors, charging system faults, and other high-voltage system warnings.
- Test all available drive modes: By switching between Normal, Eco, Sport, or manufacturer-specific modes, verify smooth transitions without drivability concerns or new fault codes appearing during operation.
- Confirm the Acoustic Vehicle Alert System (AVAS) operates at walking speed, ensuring pedestrians can hear the vehicle during low-speed movement, as required for most modern EVs operating below approximately 19 mph.
AutoLeap’s Digital Vehicle Inspection (DVI) supports custom EV inspection templates, allowing your shop to build an EV checklist once and reuse it for every electric or hybrid vehicle that comes through the service bay.
Multi-Point Inspection vs State Safety Inspection: What's the Difference?
State Safety Inspection | Shop Multi-Point Inspection |
Required by law: Yes. Required annually in states that mandate safety inspections. | Required by law: No. Voluntary and established by the repair shop as a standard service process. |
Who performs it: A certified, state-licensed inspector. | Who performs it: A shop technician following the shop’s inspection process. |
Result format: Pass or Fail. | Result format: Green, Yellow, and Red condition ratings with supporting notes and recommendations. |
What it covers: Typically includes brakes, lights, tires, steering, horn, wipers, and emissions where applicable. Exact requirements vary by state. | What it covers: Includes state safety items plus fluids, filters, belts, hoses, suspension, exhaust, underbody components, interior safety equipment, and a complete road test. |
How often: Annually in states that require inspections. | How often: During every oil change or major service visit, typically every 5,000–7,500 miles, depending on vehicle use and manufacturer recommendations. |
Why it matters: Confirms the vehicle meets the minimum legal requirements for operation on public roads. | Why it matters: Identifies maintenance needs and repair opportunities before they become breakdowns or expensive failures, helping customers protect their investment. |
Documentation: A state inspection sticker or official documentation showing inspection status. | Documentation: A written or digital inspection report shared directly with the customer, including technician notes, photos, and recommended repairs. |
A state safety inspection confirms the car can legally stay on the road. The shop’s multi-point inspection tells the owner what the car needs to stay in good condition. The two are complementary, not interchangeable.
Who conducts the vehicle inspection at the repair shop?
Vehicle inspections are typically handled by trained automotive technicians. They use a mix of visual checks, manual tools (like tread depth gauges), and other digital tools. Many shops now rely on digital Vehicle Inspection software (DVI) to ease and automate the process.
DVI tools allow technicians to capture photos, record notes, and mark parts using a color-coded system. For example, green means “OK,” yellow means “monitor,” and red means “needs attention.” This makes it easier for customers to understand and differentiate between urgent or trivial issues.
Should vehicle inspections be done daily, weekly, or monthly?
The right inspection frequency depends on vehicle usage:
- Daily Inspections: Ideal for fleet vehicles, delivery vans, or any vehicle used intensively every day. Basic checks like tires, brakes, and fluids should be included.
- Weekly Inspections: Suitable for vehicles that aren’t driven daily but are still active. A mid-level inspection works best.
- Monthly Inspections: Most personal-use vehicles or light-duty commercial vehicles can follow this schedule.
For your shop, offering inspection packages based on usage type helps customers stay proactive and can bring in recurring business.
How to Document and Present Inspections to Get More Work Approved
OK Tire, using AutoLeap’s Digital Vehicle Inspection tool, dramatically improves clarity, customer trust, and a 30% increase in approval rates. The workflow below helps shops consistently achieve better customer understanding, higher approval rates, and more efficient service communication.
1. Walk-Around at Intake
Before any work begins, photograph every body panel, bumper, wheel, and glass surface as part of the vehicle intake process. Review the images with the customer and document any pre-existing damage before the repair order is opened. This five- to ten-minute process protects your shop from damage disputes while establishing transparency from the very beginning of the visit.
2. Capture Evidence During the Inspection
For every yellow or red inspection item, attach at least one clear photo to the inspection report. A picture of a cracked brake rotor, leaking shock absorber, or damaged belt communicates the problem more effectively than a written description alone. When customers can see the condition of their vehicle, they are more likely to understand the recommendation and approve the repair.
3. Send the Report Before the Phone Call
Once the inspection is complete, send the digital inspection report by text message or email. Giving customers time to review the photos, technician notes, and recommended repairs helps answer many questions before the conversation. As a result, phone calls become shorter, approvals happen faster, and customers have greater confidence in the recommendations. This is because they have already seen the supporting evidence.
4. Carry Forward Declined Items
If a customer postpones a recommended repair, keep those yellow and red inspection items attached to the customer’s service history. At the next visit, compare the previous inspection photos with the vehicle’s current condition. This is to demonstrate how the issue has progressed. Revisiting deferred repairs with documented visual evidence often results in higher approval rates. Also, reinforcing your shop’s commitment to preventive maintenance rather than high-pressure sales.
AutoLeap’s built-in Digital Vehicle Inspection (DVI) lets technicians complete the entire inspection workflow on a tablet, send results directly to customers by text, and track approval rates by technician, helping your shop improve communication and increase repair authorization rates.
Advantages of regular vehicle inspections
- Fewer breakdowns: Catching issues early reduces surprise breakdowns and customer complaints.
- Stronger customer relationships: Transparent reporting builds trust, especially when paired with before/after visuals.
- Increased repair approvals: Clear visual proof and detailed notes from DVI tools help customers say “yes” to repairs.
- Higher efficiency: Technicians work faster and more accurately with a standardized checklist in hand.
- Record-keeping: Digital records of inspections help with warranty issues, insurance claims, or future diagnostics.
Wrapping up
A proper vehicle inspection checklist is a must-have for every repair shop. It improves efficiency, safety, and customer confidence. With AutoLeap’s digital vehicle inspection feature, you can manage the whole process. Take photos and notes, save checklists from your tablet or phone.
Frequently asked questions
What should a vehicle inspection checklist include?
A comprehensive vehicle inspection checklist should cover all major systems that affect safety, reliability, and performance. A complete shop inspection typically includes 10 categories: vehicle intake, exterior condition, lights and electrical, tires and wheels, brakes, steering and suspension, under the hood, under the car, interior and safety equipment, and a road test. A full 100-point checklist ensures every critical system is evaluated. Shorter versions may be used for specific services, such as brake inspections or pre-purchase vehicle inspections.
What is the difference between a 21-point, 100-point, and multi-point inspection?
A 21-point inspection focuses on the most common maintenance and safety items, including fluids, tires, brakes, and lights. A multi-point inspection is a general term for any structured inspection, typically ranging from 25 to 50 items depending on the shop’s process. A 100-point inspection is the most comprehensive option, adding detailed checks of the exhaust system, frame, drivetrain, interior safety equipment, and a road test. The number refers to the individual inspection items, not separate inspection events.
How long does a full car inspection take at a repair shop?
A complete 100-point vehicle inspection typically takes 45 to 90 minutes, depending on the vehicle’s condition and the shop’s inspection process. A basic 21-point inspection generally takes 20 to 30 minutes. Shops using digital vehicle inspection (DVI) software can often complete documentation more efficiently because technicians record findings, photos, and notes directly during the inspection rather than writing reports afterwards.
What should shops inspect on an electric vehicle or hybrid?
Electric vehicle (EV) and hybrid inspections include many of the same safety checks as conventional vehicles but add several EV-specific components. Technicians should inspect the high-voltage battery system, battery cooling circuit, Battery Management System (BMS) fault codes, charging port, onboard charging components, and the 12V auxiliary battery. They should also evaluate regenerative braking performance, inspect brake rotors for corrosion caused by reduced-friction braking, and scan for inverter, motor, and thermal management faults. Because high-voltage systems present unique risks, technicians must use EV-rated insulated gloves and tools when working around orange-cabled components.
What is a vehicle walk-around inspection, and when should shops do it?
A vehicle walk-around inspection documents the vehicle’s condition before any repair work begins. During the walk-around, the technician photographs body panels, bumpers, wheels, glass, and any existing cosmetic damage, then reviews those findings with the customer. This process helps prevent disputes over pre-existing damage and establishes a clear record of the vehicle’s condition. Most walk-around inspections take 5 to 10 minutes and should be performed before every repair, maintenance, detailing, or storage appointment.
How often should auto repair shops inspect customer vehicles?
Most repair shops perform a multi-point inspection during every oil change or scheduled maintenance visit, typically every 5,000 to 7,500 miles, depending on the vehicle manufacturer and oil type. Vehicles that have not been serviced for a year or longer should receive a comprehensive inspection regardless of the customer’s reason for visiting. Even in states with annual safety inspections, a shop’s multi-point inspection should exceed the minimum legal requirements to identify developing maintenance issues before they become costly repairs.
What is the difference between a state safety inspection and a shop multi-point inspection?
A state safety inspection is a government-required, pass-or-fail evaluation that verifies a vehicle meets the minimum standards for legal operation on public roads. Depending on the state, it may include checks of the brakes, lights, tires, steering, horn, wipers, and emissions systems. A shop multi-point inspection is voluntary and much more comprehensive, covering additional components such as fluids, belts, hoses, the exhaust system, interior safety equipment, and a road test. Rather than issuing a simple pass or fail, most shops use a Green, Yellow, and Red rating system to help customers understand the condition of each inspected component and prioritize recommended repairs.
Can shops use software instead of a paper vehicle inspection checklist?
Yes. Digital vehicle inspection (DVI) software allows technicians to complete inspections on a tablet or mobile device, attach photos and videos to individual inspection items, and send the completed report directly to customers by text or email. Visual evidence helps customers better understand repair recommendations and typically leads to higher repair approval rates. While paper inspection forms can still be useful for quick fleet inspections or simple walk-arounds, digital inspections improve documentation, communication, and recordkeeping for both the shop and the customer.